Aug. 04, 2023
Cutting Preparatory Work
Loop around the machine to check the integrity of the system to ensure that the system is ready for running.
Go to the console and press the "Power on" button on the operation panel to start the automatic welding system.
Wait until the software main interface is displayed on the touch screen.
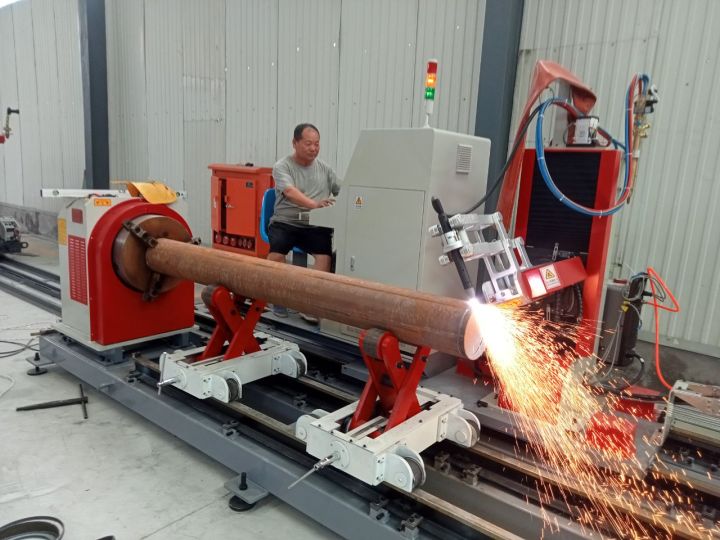
Lift or feed the workpiece to be processed into the roller support system.
Pipe Measuring & Cutting
Lower the turnover mechanism of the turnover conveying system to the bottom;
Press “upward” and the horizontal logistics conveying system on call starts, lower the pipe to the location rack of workpiece;
The pipe rolls to the equipment side automatically by the location rack’s gradient and reaches the travel range of the turnover mechanism;
Switch “convey/lift” button to jacking state, pull “forward/backward” button forwards, turn over the pipe to the conveyer of the turnover conveying system;
Pull “forward/backward” button backwards and lower the pipe to the friction disk of the roller bed drive system;
Cut the pipe in fixed length as per Controlling System for Square & Circular Pipe Profile;
Pull “forward/backward” button forwards and lift up the turnover conveying system to separate the pipe from the friction disk of the roller bed conveying system;
Switch “convey/lift” button to feed state, pull “forward/backward” button forwards and deliver the finished pipe out of the equipment by the turnover conveying system;
Cut the second pipe as per above steps repeatedly.
