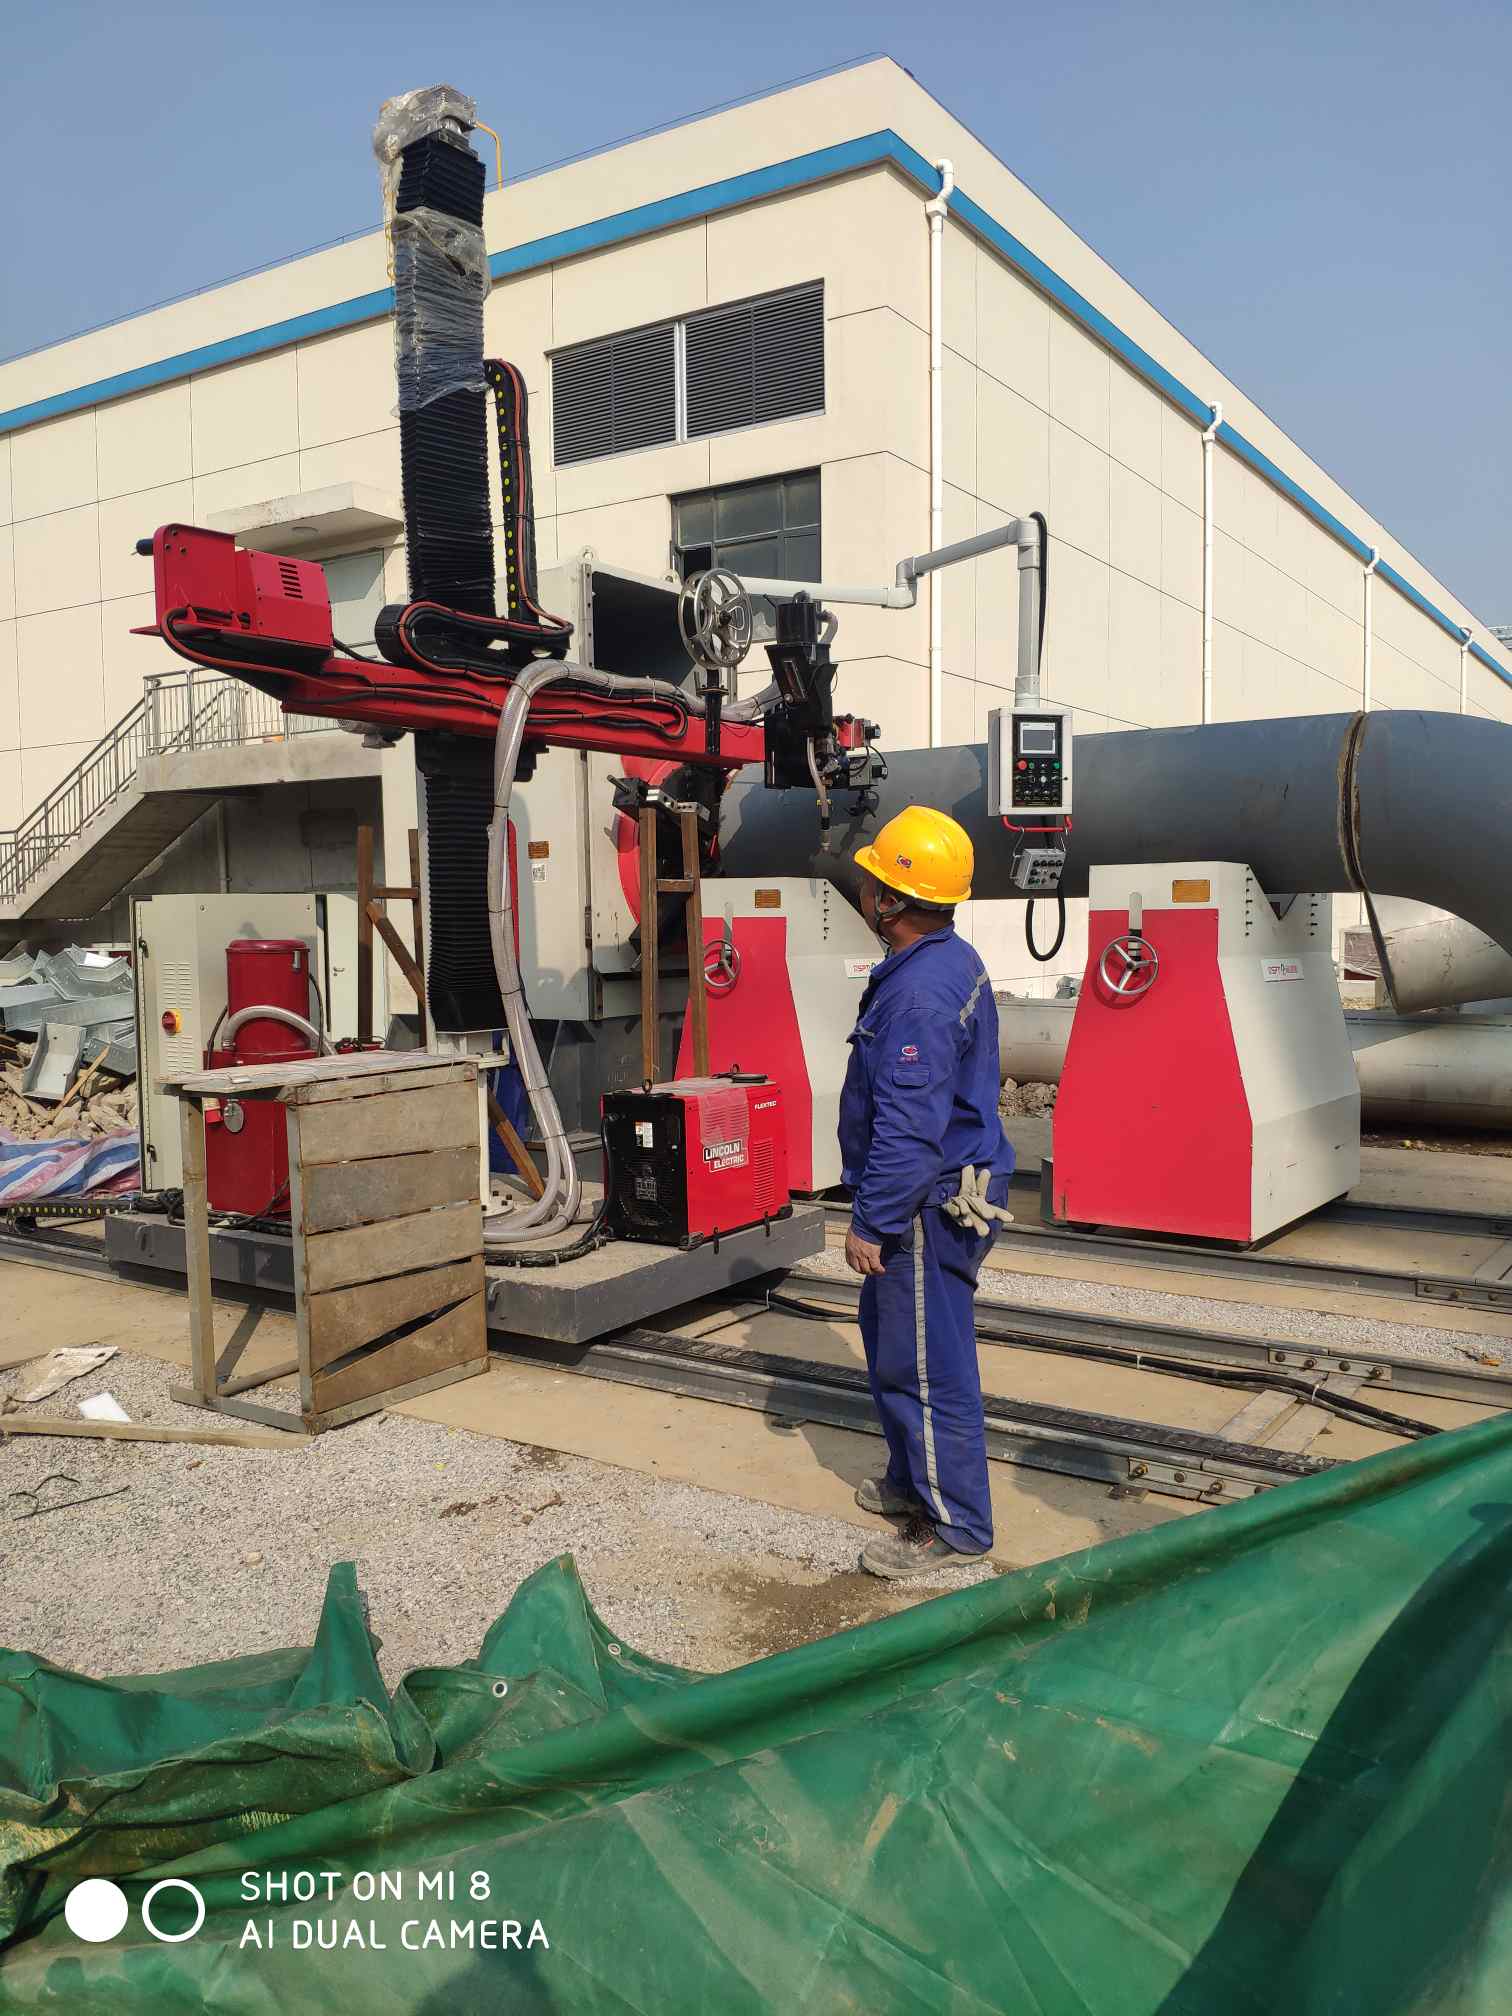
Sep. 30, 2022
1) 打开主机、焊接电源、冷却水箱等的电源开关;
Turn on the power switches of host, welding power, cooling water tank, etc.;
2) 检查所用焊丝是否正确、调节氩气流量;
Check whether the applied welding wire is correct, and check the argon flow;
3) 向下拨动遥控盒的工艺选择,选择氩弧焊接工艺;
Turn the process selection on the remote control box down to select argon arc welding process;
4) 向上扳动横臂摇杆开关,使横臂上升至合适位置;
Pull boom rocker switch up to enable the boom to rise to a proper position;
5) 向右旋转小车旋纽开关,将小车移出至合适位置;
Rotate the knob switch of the trolley to right and move the trolley to a proper position;
6) 采用横向输送系统或其它吊装工具,将管段输送或吊装到自动焊机上;
Adopt lateral conveying system or other hoisting tools to convey or hoist pipe spools onto the automatic welding machine;
7) 向左旋转小车旋纽开关,向左移动管段,使焊缝处于合适位置;
Rotate the knob switch of the trolley to left and move the pipe spool to left to place the weld joint at a proper position;
8) 向下扳动横臂摇杆开关,降下横臂压紧管段。当管段压紧到一定程度后,限位开关起作用,横臂停止下降;
Pull the rocker type switch of the boom down and lower the compressed pipe spool of boom. Limit switch works and boom stops falling in case that the pipe spool is pressed to a certain degree;
9) 在管段的合适位置,安装二次线联接器;
Install secondary line coupler on proper position of the pipe spools
10) 根据焊接方向需要,将管子转动开关拨到相应正转或反转位置;
As required of welding direction, turn the pipe knob switch to corresponding forward or reverse position;
11) 打磨管段的点焊焊缝;
Polish the spot welding joints of pipe spools ;
12) 扳动横臂摇杆开关,使横臂(伸缩臂)沿纵向进行伸移动,将焊枪粗调至合适位置;
Pull boom rocker switch to enable the boom (telescopic boom) to move vertically, roughly adjust the welding torch to proper position;
13) 扳动遥控盒的摇杆开关,进行上下、左右、前后调节,使焊枪移动至精确的焊接位置;
Pull rocker switch on remote control box to carry out up and down, left and right, and front and back adjustment, so as to enable the welding torch to move to accurate welding position;
14) ![]() 调节遥控盒及控制箱上的旋钮,使焊接电流、焊接电压、转动速度、摆动速度、摆动宽度、左侧定时、右侧定时等参数达到焊接工艺所要求数值;
调节遥控盒及控制箱上的旋钮,使焊接电流、焊接电压、转动速度、摆动速度、摆动宽度、左侧定时、右侧定时等参数达到焊接工艺所要求数值;
Adjust knob on the remote control box and the control cabinet to enable the parameters of welding current, welding voltage, rotating speed, swing speed, swing width, left timing, right timing, etc. to reach the values required in welding process;
15) 待滚轮转动后,拨动焊接开关,开始焊接;
After roller rotates, pull the welding switch to start welding;
16) 在焊接过程中,观察焊缝熔池,如有必要实时调节焊接参数;观察焊枪是否对准焊缝中心,如有偏离,及时进行调节;
Observe molten pool during welding process, adjust real-time welding parameters if necessary; observe whether the welding torch aims at the center of welded joint, timely adjust it if there’s any deviation;
17) 在焊接完成后,拨动焊接开关,停止焊接;拨动摆动开关,停止摆动;
After finishing welding, turn the welding switch to stop welding; turn swing switch to stop swing;
18) 检查焊缝外观,对不良的焊缝表面用磨光机进行打磨处理;
Check the appearance of the welded joint and polish undesirable polished welded joint surface
19) 如不再进行填充、盖面焊接,则拆除二次线联接器,升起横臂;
In case of no filling or capping welding, dismantle the secondary line coupler, and raise the boom;
20) 如不再进行填充、盖面焊接,向右旋转小车旋纽开关,将管段移出设备。
In case of no filling or capping welding, rotate trolley knob switch to right to move the pipe spool out of the equipment. Turn on the host power and welding machine power.